-
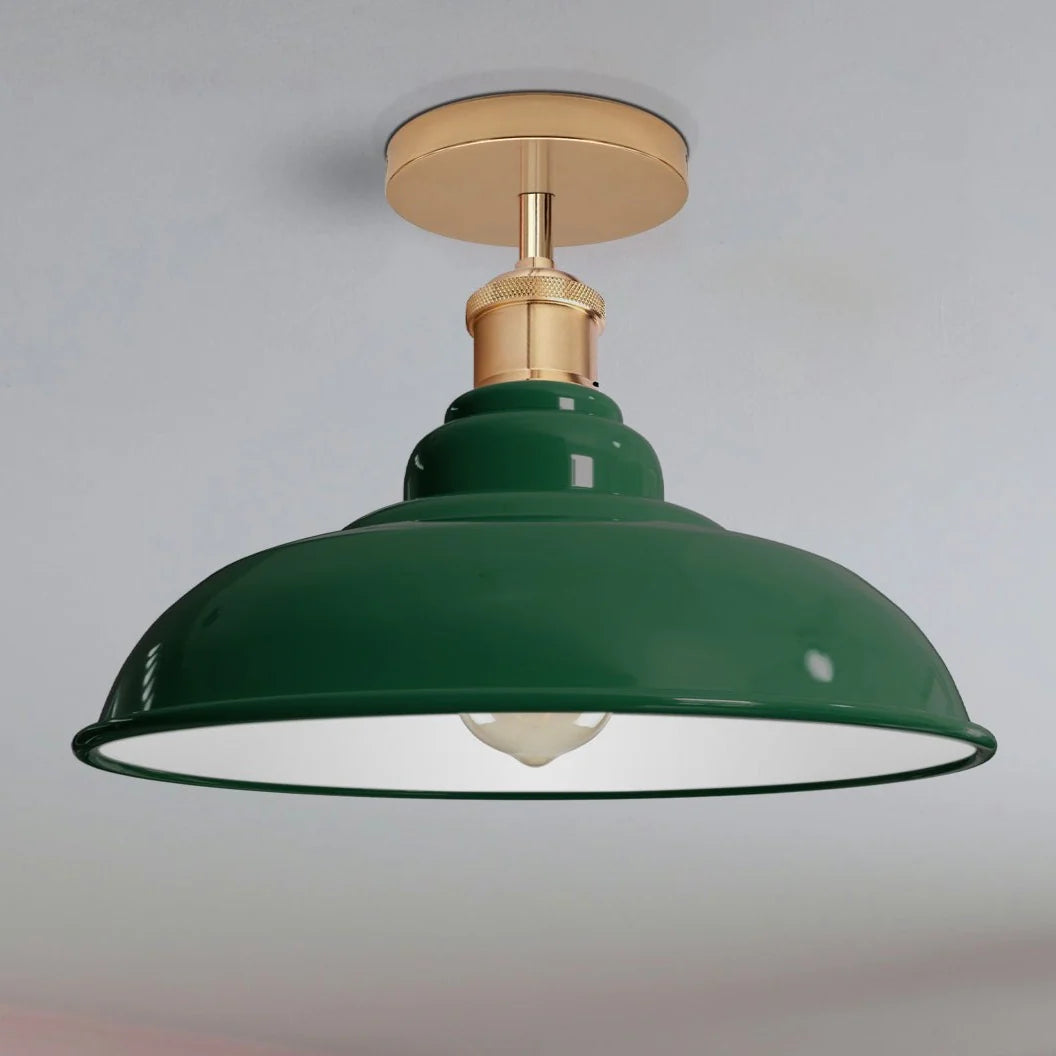
Industrial Metal Pendant Lighting for a Stylish Living Room~3794
Regular price From £15.19 GBPRegular priceUnit price per -
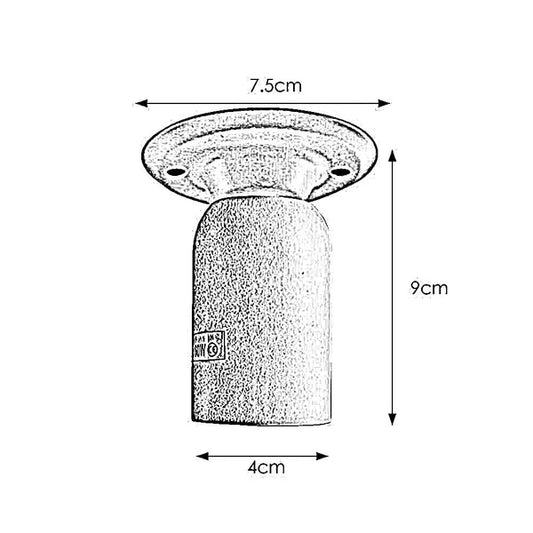
E27 Bulb Holder Flush Fitting Ceiling Lights~3707
Regular price From £8.29 GBPRegular priceUnit price per -
Modern Industrial Retro Metal Ceiling Pendant Lampshade~3694
Regular price From £16.49 GBPRegular priceUnit price per -
Flush Ceiling Light E27 Lamp Holder~3693
Regular price From £10.49 GBPRegular priceUnit price per -
Modern Ceiling Light Flush Light Fittings~3692
Regular price From £10.49 GBPRegular priceUnit price per -
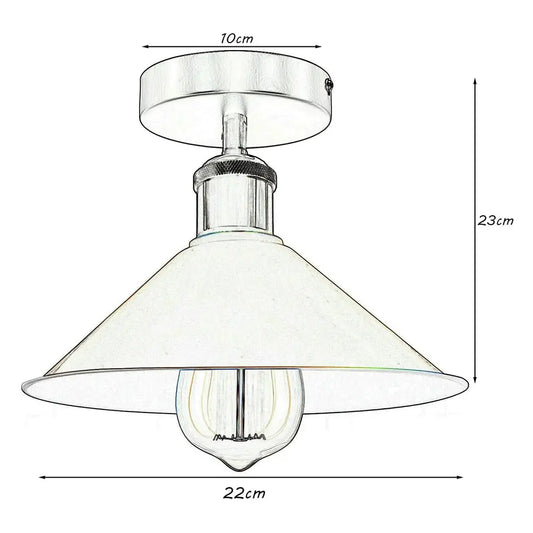
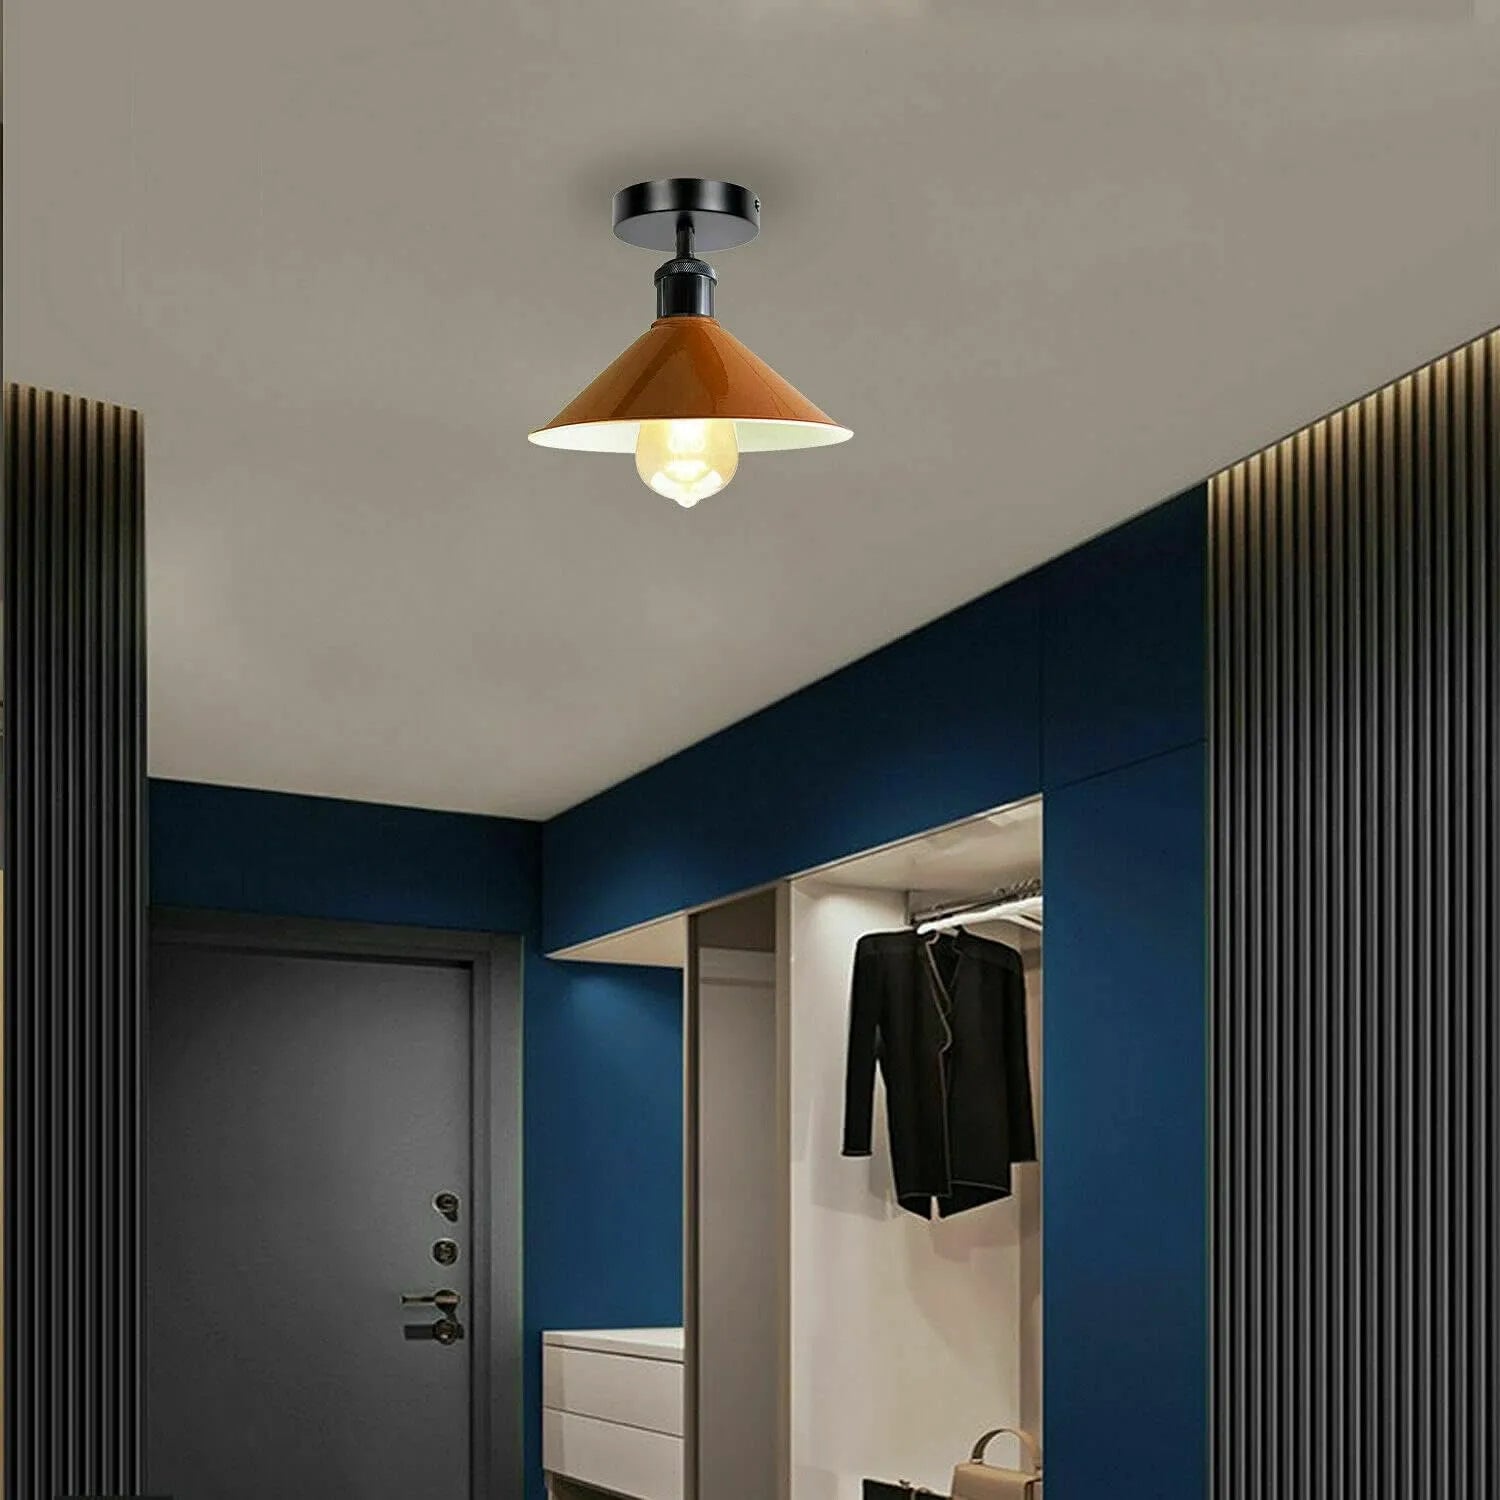
Semi Flush Mount Cone Shade Ceiling Light~3691
Regular price From £12.19 GBPRegular priceUnit price per -
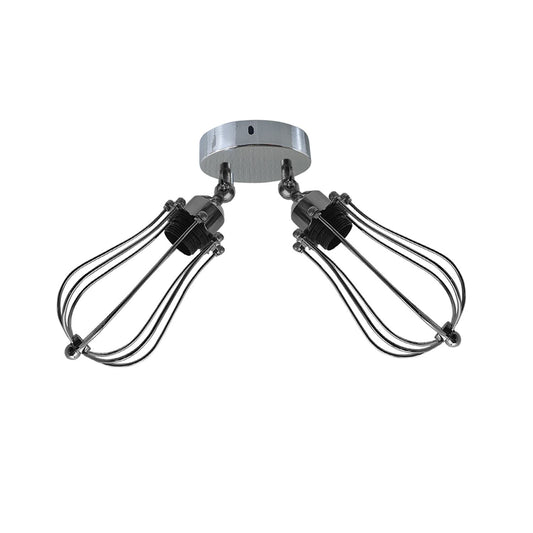
Modern Cage Pendant Light~3689
Regular price £16.49 GBPRegular priceUnit price per -
Modern Flush Ceiling Lights~3688
Regular price From £15.99 GBPRegular priceUnit price per -
Balloon Cage Modern Flush Ceiling Lights~3684
Regular price From £22.89 GBPRegular priceUnit price per -
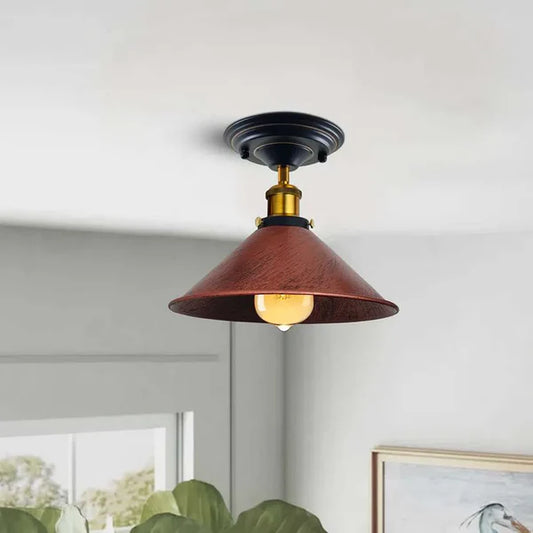
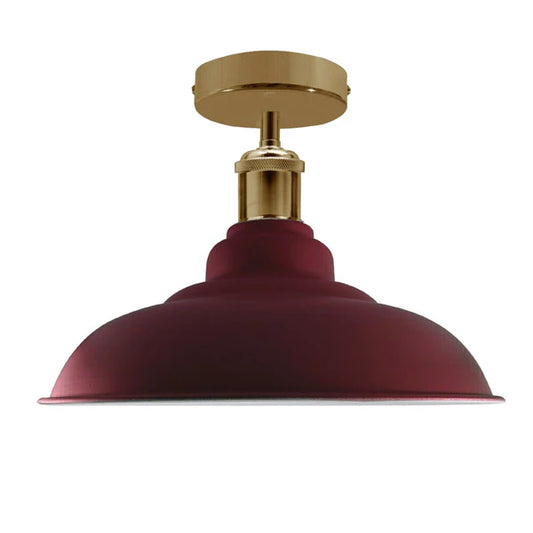
Industrial Vintage Retro Flush Mount Burgundy Shade Ceiling Light~3683
Regular price From £16.99 GBPRegular priceUnit price per -
Modern Flush Ceiling Lights Retro Lamp Shades~3682
Regular price From £16.99 GBPRegular priceUnit price per -
Modern Flush Ceiling Lights Easy Fit Light Shades~3681
Regular price From £16.99 GBPRegular priceUnit price per -
Industrial Flush Mount Yellow Shade Ceiling Light~3680
Regular price From £16.99 GBPRegular priceUnit price per -
Industrial Flush Mount Orange Shade Ceiling Light~3679
Regular price From £16.99 GBPRegular priceUnit price per -
Vintage Ceiling Light Flush Mount Ceiling Lighting~3678
Regular price From £16.99 GBPRegular priceUnit price per -
Industrial Flush Mount Shade Ceiling Light E27 UK~3677
Regular price From £16.99 GBPRegular priceUnit price per


Top Selling Products
-
Modern Hanging Lampshades~1690
Regular price From £4.55 GBPRegular priceUnit price per£0.00 GBPSale price From £4.55 GBP -
Easy Fit Cone shade for pendant Ceiling Lights & Lamps ~1718
Regular price From £8.69 GBPRegular priceUnit price per -
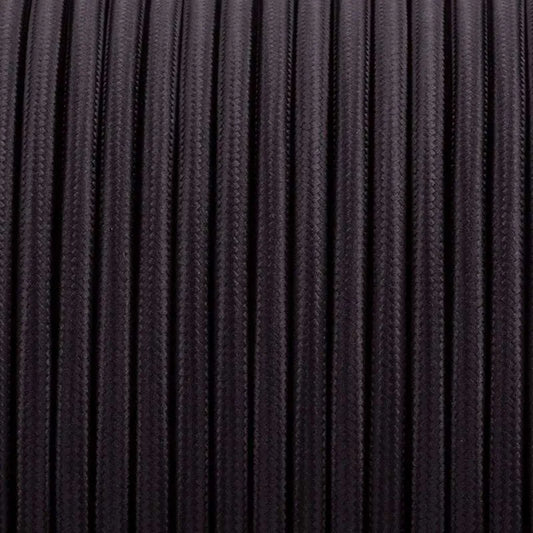
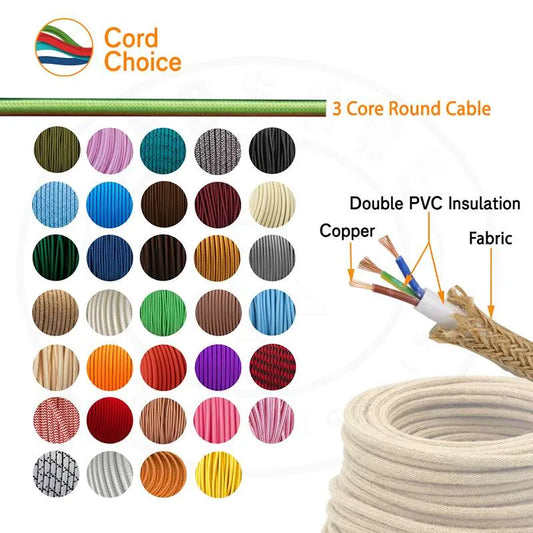
3 Core 0.75mm Round Fabric Electrical Cable Black~1094
Regular price From £2.69 GBPRegular priceUnit price per -
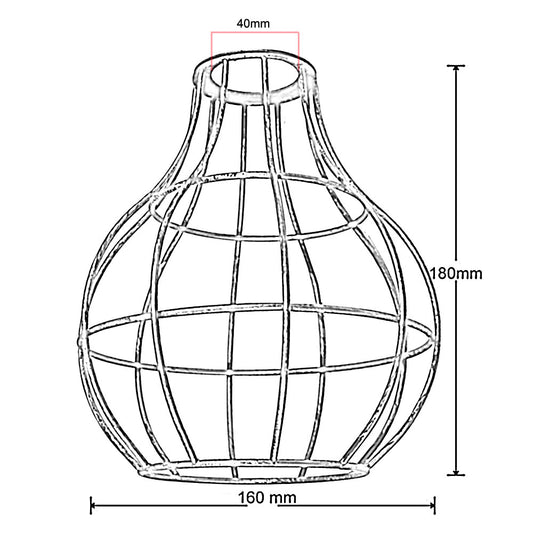
Modern Industrial Vintage Wire Cage optional colors Metal-Lampshade~1260
Regular price £7.91 GBPRegular priceUnit price per


Flush Ceiling Light Guide: Everything You Need to Know

Introduction
Looking for a sleek, space-saving lighting solution that doesn’t compromise on style? Flush ceiling lights might be exactly what your home needs. In modern homes, flush ceiling lights have become a go-to choice for homeowners and designers alike. At Vintagelite, we specialize in lighting that brings both form and function to your space.
🔍 Key Features of Flush Mount Ceiling Lights:
- Space-Saving Design: Ideal for rooms with standard or low ceilings.
- Versatile Style Options: Complements a variety of interior themes, from classic to contemporary.
- Even Light Distribution: Offers soft, widespread illumination.
- Easy Maintenance: Typically easier to clean and maintain than hanging fixtures.

🎨 1. Style & Finish
Whether you're going for vintage elegance or modern simplicity, your ceiling light should match the aesthetic of your home. From matte black for an industrial edge to warm brass for a classic touch, choose a finish that ties your look together seamlessly.
💡 2. Light Output
Consider the size of the room and how much brightness you need. For larger areas, choose fixtures that accommodate multiple bulbs or LED panels. Opt for dimmable options to adjust the ambiance based on your mood or activity.
🔧 3. Installation Ease
If you're replacing an existing fixture, look for flush lights compatible with standard wiring. Some models even offer quick-install systems, making the upgrade smooth and hassle-free.
🛒 Product Examples from Vintagelite:
- Flush bedroom ceiling lights – Soft and stylish options that offer a cozy, restful glow.
- Flush kitchen ceiling lights – Bright, practical fixtures with easy-to-clean finishes.
- Modern ceiling lights living room – Statement pieces that add elegance and visual interest.
- Contemporary bedroom ceiling lights – Trendy, functional designs perfect for modern interiors.
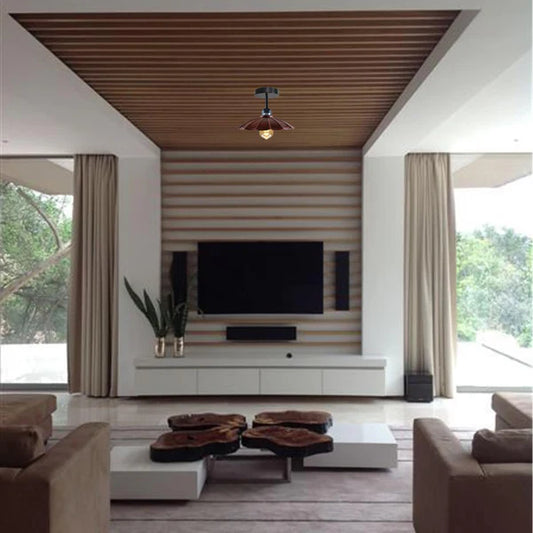
Flush Mount Light
A flush mount ceiling light is a sleek, space-saving fixture that sits close to the ceiling, ideal for low ceilings and modern interiors. It provides even, ambient lighting in any room.

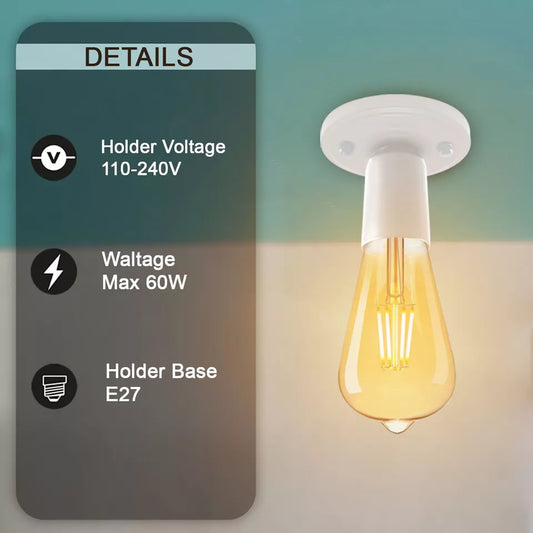
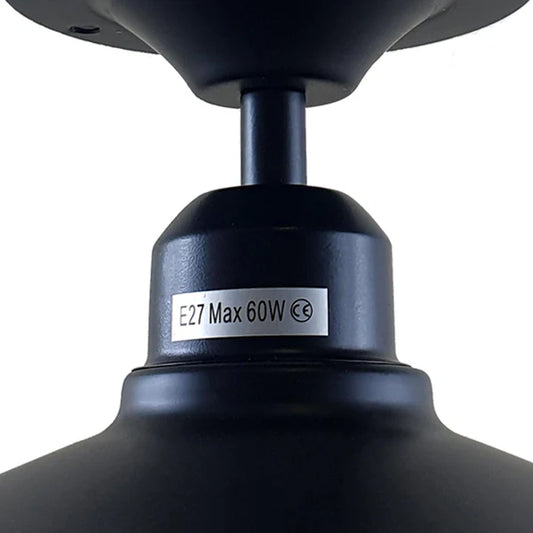
E27 Holder Flush Fitting
The E27 bulb holder flush fitting is a compact and stylish lighting base, ideal for ceilings. Compatible with standard E27 bulbs, it ensures a secure fit and modern look for any space.
Modern Flush Ceiling Lights
Modern flush ceiling lights offer stylish, low-profile lighting solutions perfect for contemporary homes. Ideal for low ceilings, they provide bright, even illumination with a sleek finish.
Flush vs. Semi-Flush Ceiling Lights
Both options provide functional lighting, but they serve different purposes depending on your space's size and ceiling height.
🔄 Comparison Table: Flush vs. Semi-Flush Ceiling Lights
| Feature | Flush Ceiling Lights | Semi Flush Ceiling Lights |
|---|---|---|
| Mounting Position | Sits directly against the ceiling | Hangs a few inches below the ceiling |
| Ceiling Clearance | Ideal for rooms with low ceilings | Works well in rooms with slightly higher ceilings |
| Design Style | Sleek, minimal, and often simple designs | More depth and visual interest with hanging elements |
| Best For | Small rooms, low ceilings, minimalist decor | Rooms needing more design impact, but still low clearance |
| Aesthetic Finish | Flat, clean lines – perfect for modern and minimalist spaces | Adds dimension and texture – ideal for contemporary or traditional spaces |
How to Install a Flush Light Mount
Installing a flush mount ceiling light can be a simple and rewarding DIY project. With the right tools and safety precautions, you can easily brighten up your room with a stylish new light fixture. Follow this step-by-step guide to ensure a safe and successful installation.
🛠️ Tools Needed:
Before you start, make sure you have the following tools:
- Screwdriver – To secure the mounting bracket and fixture.
- Voltage Tester – To check if the power is off before working on any electrical wiring.
- Drill (optional) – If you need to drill new holes for the mounting bracket.
- Tape Measure – For precise measurements when positioning the light.
- Ladder – To safely reach the ceiling.
📝 Step-by-Step Guide to Safe Installation:
1. Turn Off the Power
Before starting any installation, ensure that the power to the room is turned off at the breaker box. Use a voltage tester to double-check that there is no electricity running through the wires.
2. Remove the Old Fixture
If you're replacing an existing light, carefully remove the old fixture by unscrewing it from the ceiling. Disconnect the wires (note the wire connections) and remove any mounting hardware.
3. Prepare the Mounting Bracket
Attach the mounting bracket (usually included with the flush mount light fixture) to the electrical box on the ceiling. Use a screwdriver to secure it in place.
4. Wire the New Fixture
Make sure all connections are tightly secured to prevent any loose wiring.
5. Attach the Light Fixture
Once the wiring is securely connected, attach the flush ceiling light fixture to the mounting bracket.
6. Test the Light
Once the fixture is mounted, restore power from the breaker box. Test the light by turning it on with the light switch to ensure it is working correctly.
7. Finishing Touches
Secure any decorative elements, like glass covers or decorative shades, to the fixture.
Conclusion
In summary, flush ceiling lights are the perfect blend of style and functionality, making them an excellent choice for modern homes.
At Vintagelite, we are proud to offer a diverse selection of high-quality flush ceiling lights and lighting accessories, ensuring you can find the perfect solution for your home. Browse our collection today and discover the ideal lighting fixtures to brighten up your space with elegance and ease.